Ghetto Hood Build.
Intro:
For the past few months ive been obsessed with the idea of having or building a flow hood. The latter being the harder of the two but much cheaper. So WHY?? Well I'll tell you why. Working inside of an SAB gets real boring real quick. Plus with a well built flow hood your contam rates should drop a fair bit and with easier access to your tools and more manoeuvrability to work with. Plus it looks kinda cool and i love building things.
Parts and Tools required:
- Fine tooth handsaw (i used 15TPI). Optionally a circular saw if you have it/dont have a steady hand.
- Ruler or measuring tape
- Hole saw bit (4 inch)
- PlyWood (i Used 9mm thickness) 1200 x 600mm X 2
- Inline exhaust fan (i got a remote controlled version with 2 speeds)
- Wood screws (4G x 18mm)
- Window weather seal
- Kmart HEPA Filter
- Kmart activated carbon filter with prefilter (Both HEPA and this are for the same model air purifier)
- Sand paper
So instead of doing a proper drawing, Making sure everything would fit and line up and then going out to buy materials and cutting it up i quickly scribbled a rough sketch on the back of a receipt outside the hardware store before i went in. Lo and behold once i had done all my cuts things didnt turn out the best...but we will get to that.
The First thing i had to do was mark out my cuts on the ply wood and chop her up. But to understand what i am doing you will need to know how i will be setting this up. I plan to have 3 x rectangular pieces that will be my sides and the back of the box, Plus 2 x square pieces for the top and the bottom. Thus only leaving the front open where my filters would go. The exact sizes of my pieces kind of changed as i built due to me not taking into account that the pieces would need to over hang the sides so i can join them.

Once my pieces were cut i marked out the Front, Back , Left and right sides for when it actually went together.
The original dimensions of my cuts were;
2 X 47 x 47
3 X 30 x 45
In the below pic you can see the the sides of the box sit/join on the outside of the bottom piece. If both the top and the bottom are the same size that means the top piece wont sit on the sides, so i had to improvise and i added 3 bits of wood on the inside of the box to support/affix the top. The two bits on the side were rough measured to also be a backrest for the filters. I had to guess where they would sit as Kmart only had the HEPA filter in stock so i couldnt size up properly.

Once that was done I have the top a quick sand with 80 Grit just to get it completely level. I then ran some 120 grit on the inside of the box to smoothen it out a bit. I would have gone higher but had none left. After that i wanted to seal the inside but i realised i only had RTV...It will do. I chucked a couple weather strips on the sides to make for a more snug fit with the filter. I want to be able to replace it so i dont want to use silicone bit i may have to.

Thats all i have done for now, Waiting on the RTV to dry and for a filter to come in stock. Hoping to finish this box this week or next at the latest.
I ended up doing a little bit of work on the hood yesterday as i had an hour or so to spare.
I had 3 things left to do.
1. Drill and fit Fan
2. Install all filters
3. Fix top and seal.
First up on the list was Drill a hole for my fan. I turned around my box so the back was facing me and marked out the centre. This is where i wanted to place my fan however when i placed a bit of plywood on the inner rear wall it ended up covering the centre (4 inch diameter).

I couldnt be fucked drilling through both bits of wood as i was scared to fuck it up in the first place so i just marked a couple inches lower and used it as my centre point and drilled away IN REVERSE.

The hole came out pretty nice, i used a bit of sandpaper to smoothen it out and then went to go slide my fan in what should have been a tight hole 
It was more loose than a 70 year old hooker. *swearing ensues*
AH! but wait i have window seals!

I made one quick band with the seal and it fit perfectly!!!!
For those who wanna know here are the fan specs as per the sticker on the side.

I wanted to stick the top on her and see how she looked. I was not disappointed!

The excitement is real, Its finally coming together. After im doing with the build i wanna make her look cool!
Alllllrightyyyy so all the facts laid out in the comment section of this thread kinda put a damper on the build as well it may well be all for nothing and some people kinda took the fun out of it...just kidding i still find this very fun heh. Anyway i digress, Since my last entry i have done a lil bit you could say.
I wanted to fit everything and test it out before sealing it up, An engineer i met on reddit Told me if i wanted to test the flow before sealing it up properly i could use a fuck load of bluetack...so i did.
Firstly however we need to fit all the filters in place.

I added the prefilter in and then i decided to put an extra bit of ply on the inside of the box to make for a tight fit for my HEPA filter, I used Weather seals to make this more snug. Once that was done i pressed in my HEPA filter which actually was quite hard to do (good thing).
Front view (had removed prefilter for some reason when taking the pic)

With two layers of weather seal my prefilter was slightly warping when pressed in as it was too tight so i removed one layer and will silicone it at the end. For now i used bluetack to seal it. I then sat the lid on top and sealed up the edges...it was time to test her out.
I was NERVOUS.
I used the remote to turn the fan on (low setting) and held my lighter out....

I am happy with that! Remember i have no way of testing of the flow is laminar at this point but the flow rate looks good to me, I Will be running tests soon!!! Super stoked.
The Simple Test:
Alright so first off before i get pooped on, the reason why im doing a test so basic is because im low on agar plates and need to do more transfers soon. Basically i plan to keep an open plate in front of the hood in direct flow of the box. After 5 mins i close the plate and seal. The plate will be checked daily till i am satisfied it is clean.
I made space on my kitchen bench and placed the box on top and refitted the fan. I ran the box for about 5 mins before moving on. To elevate my working space i used 2 baking trays stacked inside each other to get almost an inch above the bench and placed the closed Agar plate on top of the trays.

I was super fucking excited but at the same time, Nervous. I then set a timer for 5 mins and opened her up to the world. The 5 mins fucking flew.
(Disregard the shit on the floor it was on the bench and i wanted to do this before the dishes)

Once the time had elapsed i covered the plate back up, Wrapped with MPT and labelled.
(Forgot to put the date 09-09-22, i have now)

Now we wait.
It is now day six (15-09-2022) since the test was started, My plate is still squeaky clean...yes i know it doesnt mean jack shit buuuut im happy so far, Going to do another test whilst leaving it running for half an hour and seeing what happens then. If it survives that then im just gonna start using it. I will figure out preeeeettyy quick if it has failed me.

Since a few days had passed since my last update and my plate was still clean as fuck, i used it to do a transfer of my APE. I really wanted to start pouring agar as well so i said...fuck it this will be a pretty good test i think.
Before i did anything else i did something which may seem silly due to the box not being fully tested but i had some faith so i sealed the box, i didnt want small gaps in the bluetack to fuck with my flow.

Yeah i know its not pretty...
So I went down to a local thrift store and found a glass bottle with a thin neck to use to cook my agar. Ive never made agar before and its always smart to start off with known methods when doing anything buuuut i either had to order LME online or go to a specific bottle shop that wasnt open. I also decided not to use Karo as i had to make PDA not MEA. I watched PGT's easy agar recipe and Modified it a little.
PGT recipe:
Potato flakes, Agar Agar, Karo (corn starch) in a 3:2:1 ratio. I figured they already had starch from the potato so for an extra nutrient source i used baking yeast, nutritional yeast is better but this should work too.
Mushies Recipe:
Potato flakes, Agar Agar, Yeast in a 3:2:1 ratio.
To start off i only wanted to pour 5 dishes, to get the hang of it first and also to do a small sterility test.
So i used 3 grams of Potato flakes (instant mash), 2 grams of Agar Agar and one gram of Yeast. This was added to 125ml (1/2 cup) of hot water in a small pot and then brought to a simmer for a few minutes whilst constantly stirring then i brought it up to a boil for 1 minute whilst continuing to stir to make sure the agar dissolved. Once this was done i used a funnel and poured it into my vessel and added 3 drops of blue food colouring before giving it a swirl.
I plugged to neck with polyfill , wrapped in foil and cooked at 15 PSI for 35 mins. Once the PC was ready to open i removed the bottle and sat it on my bench, i quickly grabbed my box and set her up. I then grabbed everything i thought i neeed.
-Sauce cups and lids
- Iso
- Gloves
- Mask
- Vape
I was ready.

I sat 5 lids and cups upside down on my working area and fipped them one by one and filled and capped the plates.

These were poured on 17-09-2022 and showed zero signs of contam after 3 days, I know 3 days isnt always enough time for contam to show but i decided to sacrifice one to an Open air inoculation to see two things:
1. How well will myc grow on this
2. Will other contam show?
3 days later and its looking great!! Seems like i got lucky with the Open Air Inoculation (OAI), My APE T1 was also a lucky OAI.
The Pic isnt the best but its something, Note the small white patch of myc next to the larger patch growing off the pin. This is nothing but myc from that pin as it kinda rolled from the smaller spot to where it stands now.

Its now been 6 days since the pour was first done and all plates are still clean. Yesterday at day 5 i decided to pour another 9 Plates, 3 Ziplock bags of agar for the nichrome challenge and i germinated a plate of FP+ (Thanks Faht).
 
I am going to continue to update this thread with any and all work i do in front of the hood to determine my Success rate to deem this build worth it or not. I mean i had fun so it was worth it but you get me.
All Hood Transfers/agar work:
+ Open agar dish x 5 mins - Still clean and used for transfer - 09-09-2022
+ Agar pour x 5 plates - Clean - 17-09-2022
+ Agar pour x 3 ziplock bags - Clean - 22-09-2022

+ Agar pour x 9 dishes - Clean - 22-09-2022
+ Agar swab germination x 1 plate - Clean - 22-09-2022
+ Agar transfer x 1 plate - Clean - 25-09-2022

+ Agar Transfer x 1 plate - Clean - 29-09-2022
+ Agar transfer x 1 plate - Clean - 29-09-2022
+ Agar transfer x 1 plate - Clean - 29-09-2022

+ Agar ziplock T1 to same bag - Clean - 01-10-2022

+ Agar transfer x 2 plates - Clean - 04-10-2022

+ Grain to Grain x 2 jars - Clean - 04-10-2022

+ Agar Ziplock transfer x bag - Clean - 09-10-2022

+ Clone to agar x 1 Plate - BACTERIA SPOTTED - 09-10-2022

+ Clone to agar x 1 Plate - Clean - 09-10-2022

+ Clone to agar x 1 Plate - Clean - 09-10-2022

+ Clone to agar x 1 Plate - Clean - 09-10-2022

+ Agar transfer x 1 plate - Clean - 09-10-2022 (one in from left)

+ Agar transfer x 1 Plate - Clean - 12-10-2022
+ Agar transfer x 1 Plate - Clean - 12-10-2022
+ Agar transfer x 1 Plate - GREEN MOULD - 12-10-2022
+ Agar transfer x 1 ziplock - BACTERIA SPOTTED - 12-10-2022
+ Grain to Grain x 2 jars - Clean - 12-10-2022
+ Agar to Grain x 1 Ghetto bag - Clean - 12-10-2022

+ Agar transfer x 1 Plate - Clean - 16-10-2022
+ Agar transfer x 1 Plate - Clean - 16-10-2022

+ Grain to Grain x 2 Bags - Clean - 22-10-2022
+ Agar Transfer x 1 Plate - Clean - 24-10-2022
+ Agar Transfer x 1 Plate - Clean - 24-10-2022
+ Agar Transfer x 1 Plate - Clean - 24-10-2022
+ Agar Transfer x 1 Plate - Clean - 24-10-2022
+ Agar to Grain x 1 Bag - Clean - 24-10-2022

+ Agar Transfer x 1 plate - Clean - 26-10-2022
+ Agar Transfer x 1 plate - Clean - 26-10-2022
+ Agar Transfer x 1 plate - Clean - 26-10-2022
[NO PIC TAKEN SORRY]
+ Agar pour x 19 plates - Clean - 31-10-2022

+ Agar transfer x 1 plate - Clean - 14-11-22
+ Agar transfer x 1 plate - Clean - 14-11-22
+ Agar transfer x 1 plate - Clean - 14-11-22
+ Agar transfer x 1 plate - Clean - 14-11-22
+ Agar transfer x 1 plate - BACTERIA SPOTTED - 14-11-22
+ Agar to Grain x 1 Jar - Clean - 14-11-2022
+ Agar to Grain x 1 Jar - Clean - 14-11-2022
+ Agar to Grain x 1 Jar - Clean - 14-11-2022
+ Agar to Grain x 1 Jar - Clean - 14-11-2022
+ Agar to Grain x 1 Jar - Clean - 14-11-2022

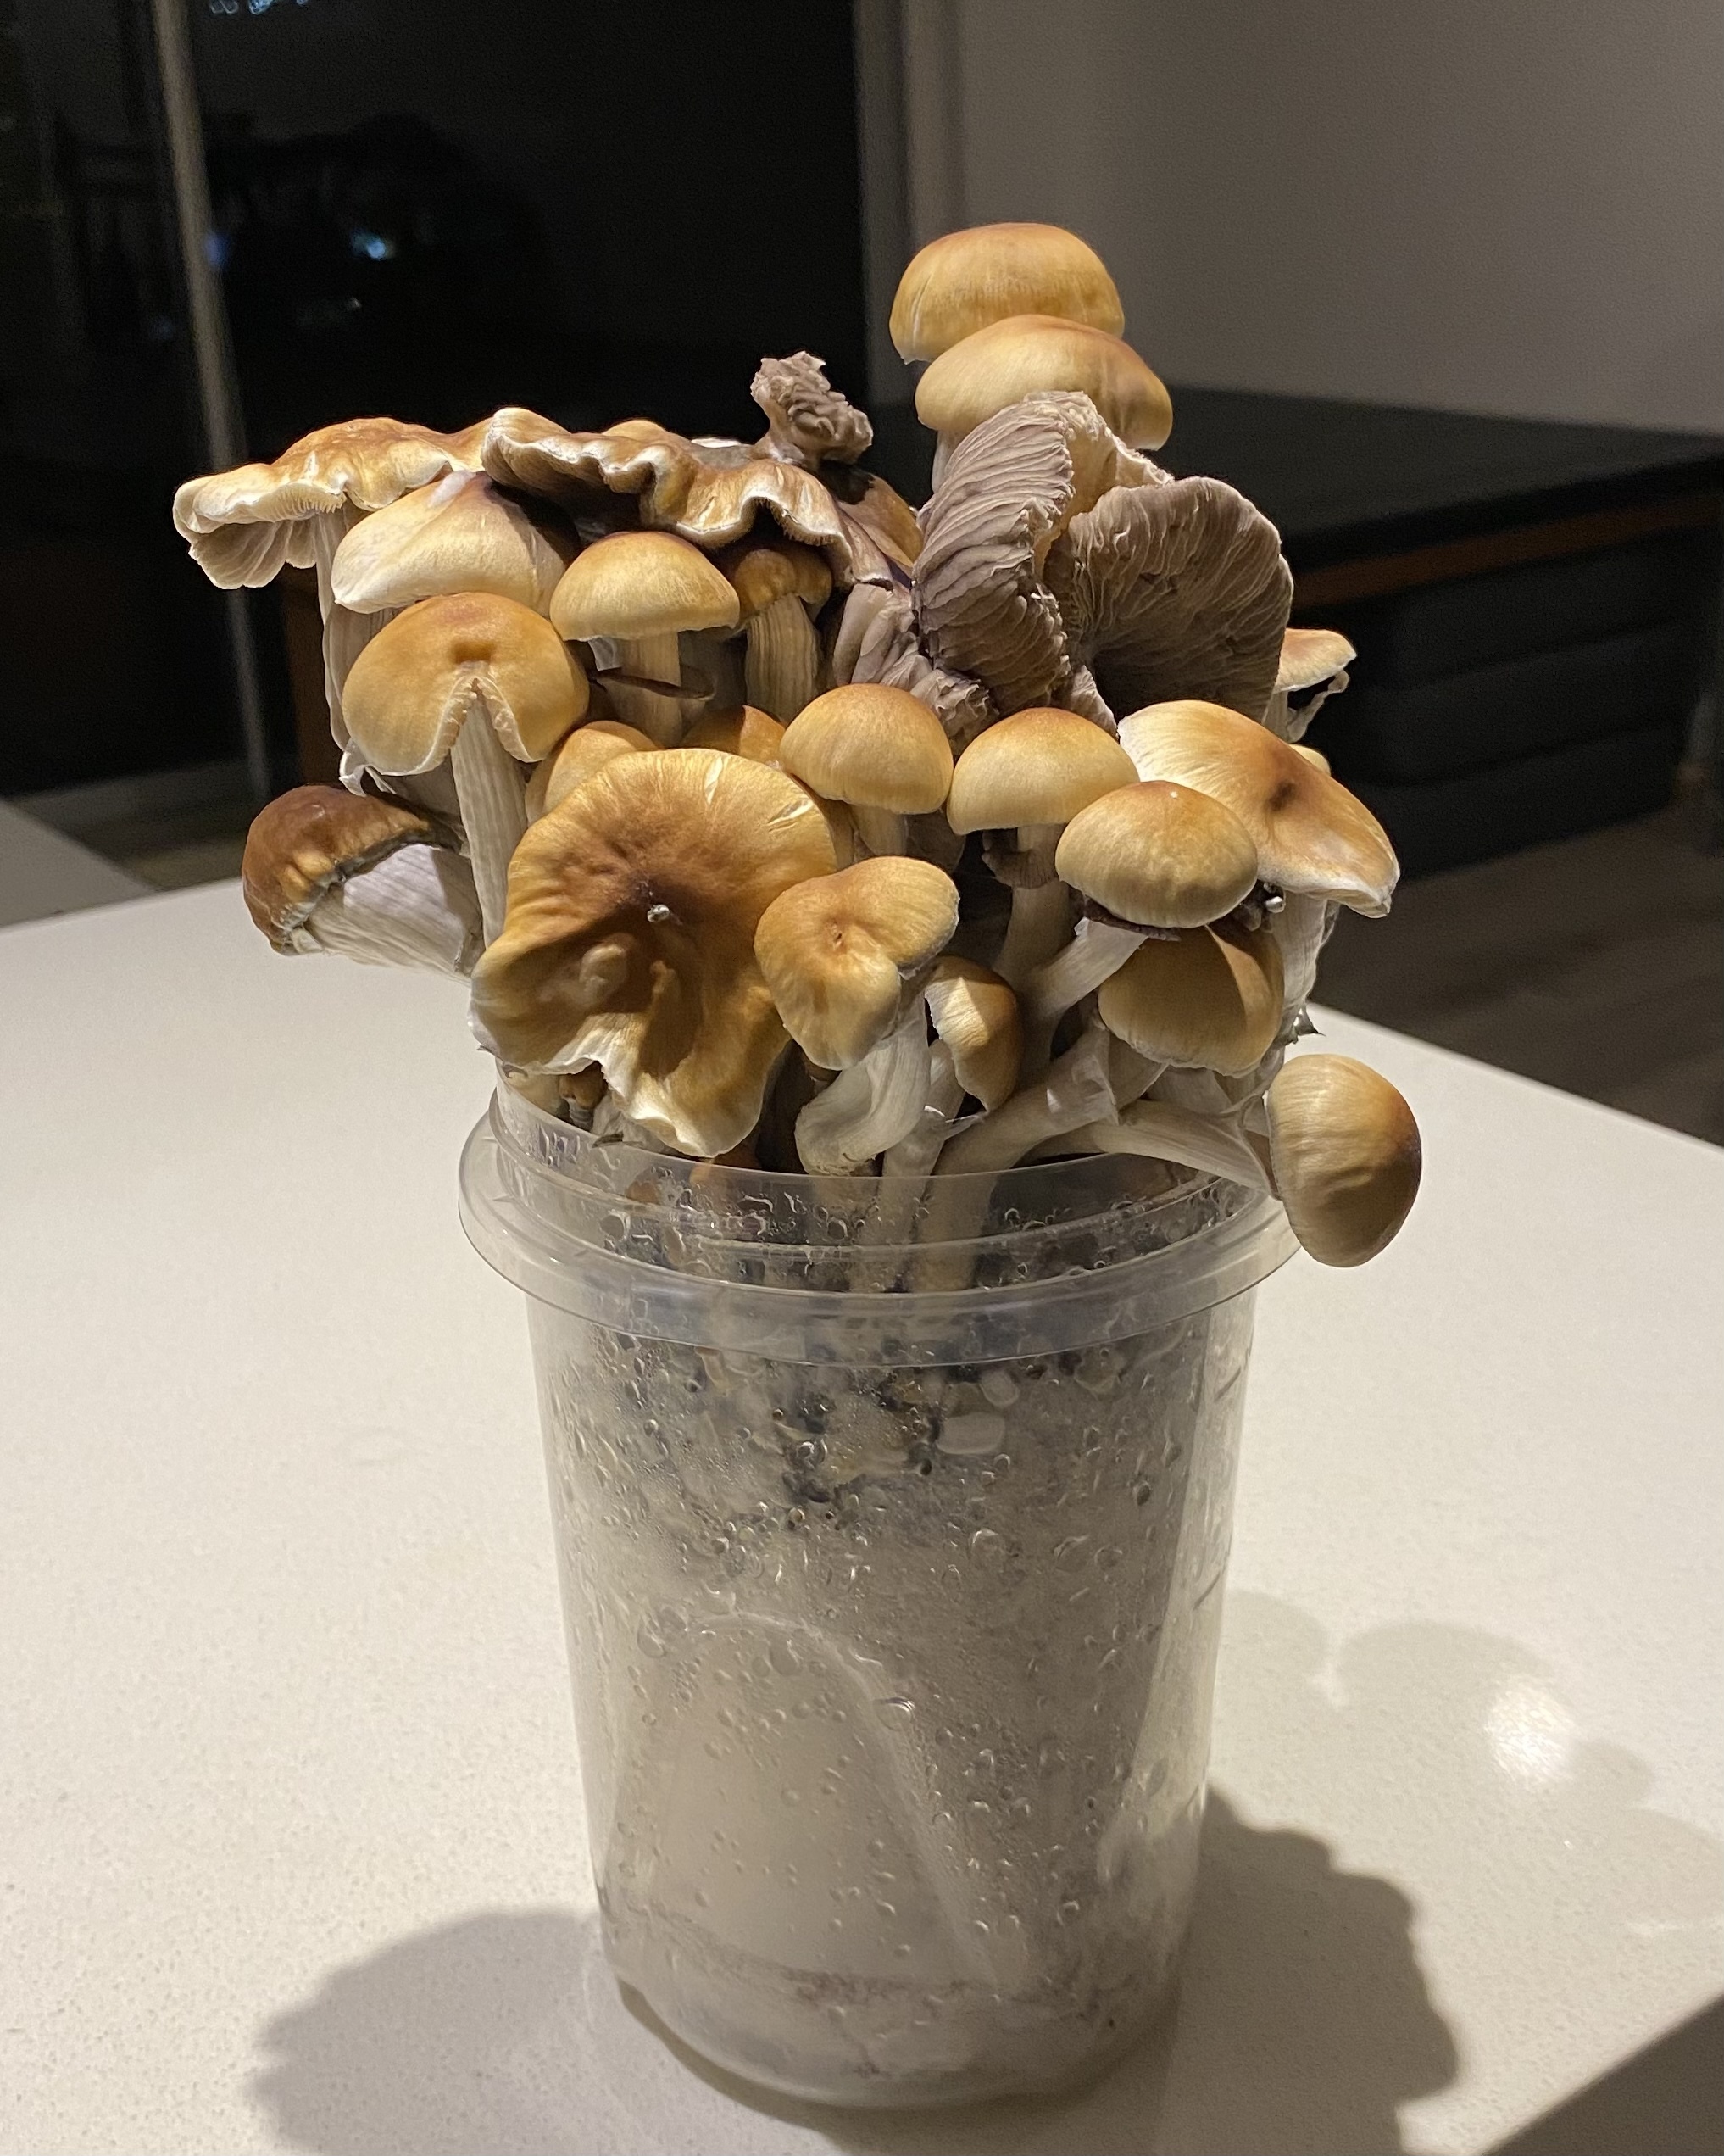
Cute Cube for your time :-)

- The Mushroom Don
Edited by MushieMafia (11/17/22 07:44 PM)
|

 Threaded
 Previous
 Index
Index Next
Next Unfolding Nature: Being in the Implicate Order
  All-In-One Bags That Don't Suck
  APE Liquid Culture For Sale
  Substrate Bags
  Injection Grain Bag
  Bulk Cannabis Seeds
  Spores for European Microscopy
 MushieMafia


 LotKid


 Edit
Edit  Reply
Reply 


 Ask about free prints: Ps tampanesis, subtropicalis, cubensis(ESS) and Pan cyanescens




 1 2 all )
 Junkaboy
 SixTango
 dickmcplentie
